Getting your automatic pet feeder up and running is a breeze! Just follow these simple steps, and you’ll have your furry friend enjoying mealtime in no time.
1. Unbox and Check Components: Start by carefully unboxing your feeder. Make sure you have all the parts—like the food container, bowl, and any necessary power adapters. A quick check will save you from any surprises later on!
2. Choose the Right Spot: Find a location that’s convenient for both you and your pet. It should be easily accessible for refilling the food, but also a comfortable area for your pet to eat. Keep in mind, a flat surface is best for stability.
3. Set Up the Power: Plug in your feeder and turn it on. If your model requires batteries, make sure they’re inserted correctly. Most feeders come with a guide to help you with this, so don’t hesitate to peek at the manual!
4. Fill with Food: Now, fill the food container with your pet’s favorite kibble. Make sure you don’t overfill it, as this could cause jams. It’s usually best to refer to the instruction manual for the right amount.
5. Program Your Feeder: Set the feeding schedule according to your pet's needs. Most feeders have simple controls or an app that walks you through the setup. Just input the times and portions, and you’re all set!
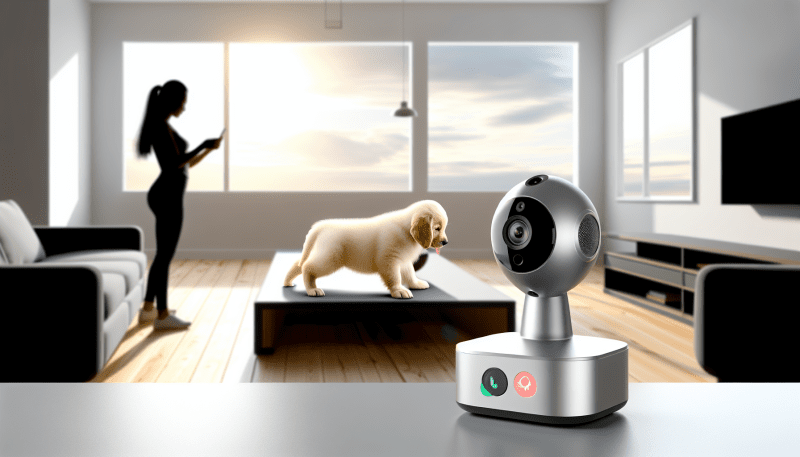
Choosing the Right Location
First, think about your pet’s usual hangout spots. Do they like to eat in the kitchen, or prefer a cozy corner in the living room? Placing the feeder in a familiar area can help encourage them to use it easily. Plus, it makes it easier for you to monitor their eating habits without disrupting their routine.
Next, consider the specifics of the space. The feeder should be on a level surface, so it doesn’t accidentally tip over. Make sure there’s enough room around it for your pet to move freely. If you have a larger breed, you’ll want to ensure they can reach their food without any awkward stretching or bending.
Also, think about keeping it away from high foot traffic areas. You don’t want to accidentally trip over the feeder or have it knocked over. A quiet corner or a dedicated nook can be perfect. And if you’ve got other pets, consider how they’ll interact with the feeder. You want to avoid any food drama between your pets!
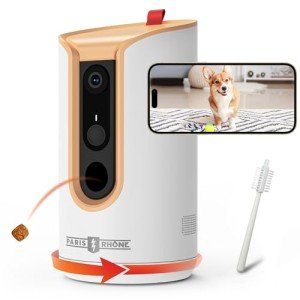
Connecting to Your Smart Device
Connecting your automatic pet feeder to your smart device is a breeze! Whether you’re using a smartphone or a tablet, the setup process is designed to be straightforward. Here’s how to get started.
First, make sure your pet feeder is plugged in and ready to go. You’ll want to download the feeder’s app from the App Store or Google Play Store. Once installed, open the app and create an account if you don’t have one already. Most apps will guide you step by step through the setup process.
After a few moments, your feeder should be connected! It’s always a good idea to test it out after setup. Use the app to schedule feeding times or feed your pet manually. You’ll love the convenience it brings, allowing you to manage your pet’s meals straight from your phone.
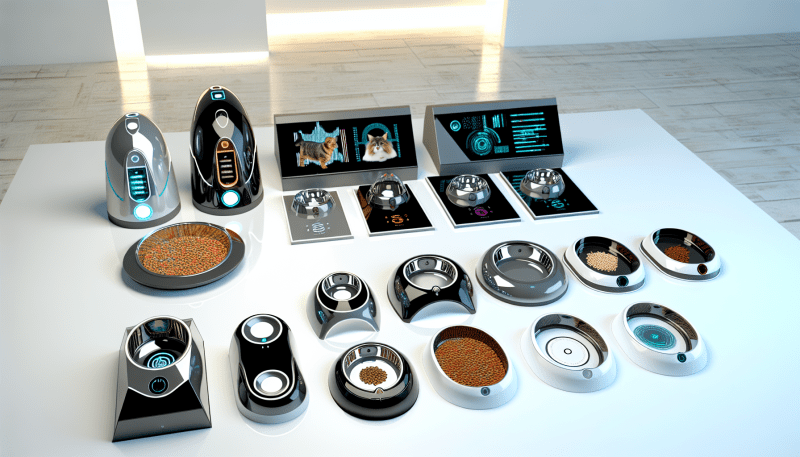
Setting Feeding Schedules Made Easy
Setting feeding schedules for your furry friend doesn’t have to be a hassle. With an automatic pet feeder, you can make mealtime as easy as a few clicks. These feeders often come equipped with user-friendly interfaces that allow you to customize feeding times and portion sizes, ensuring your pet gets the right amount of food at the right time.
Many automatic feeders let you schedule multiple meals throughout the day. This is perfect for pets who thrive on routine or need to manage their weight. Here’s how you can get started:
Once you’ve got your feeder set up, you can enjoy more quality time with your pet without the stress of constant meal prep. Plus, if you’re busy or not home at meal times, your furry friend will still get their food on schedule!