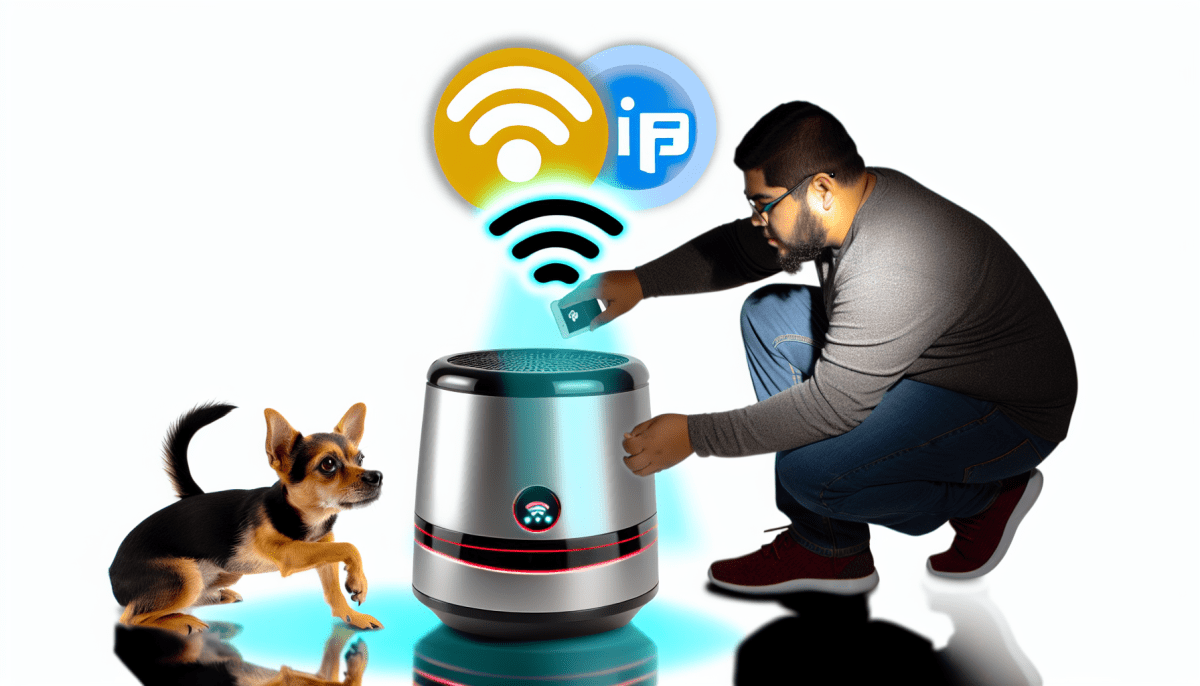
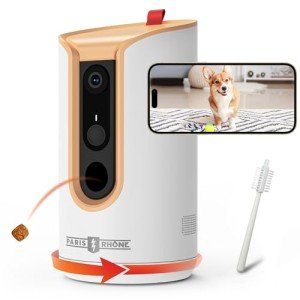
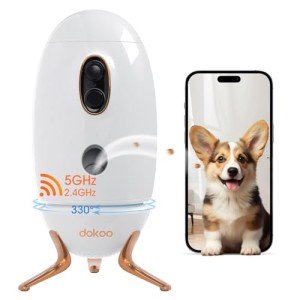
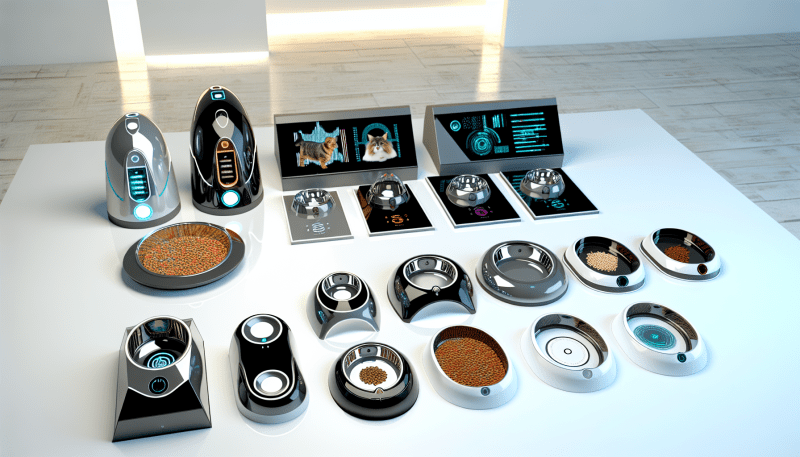
Finding the right feeder model that fits your needs is the first step to setting up your smart feeder. Whether you have a busy schedule or just want to ensure your pets are fed on time, knowing your specific model will help you connect it to Wi-Fi seamlessly.
Start by checking the brand and model number on your feeder. Most feeders have a label, either on the bottom or back, where you can find this info. It’s super helpful since each model may have different steps for connecting to Wi-Fi. Jot down the details or take a picture so you have it handy!
Next, visit the manufacturer’s website. They often have guides or FAQs specific to your model. These resources can walk you through the Wi-Fi connection process step-by-step, making things much simpler. If you’re more of a visual learner, look for tutorial videos on YouTube. They can be a game changer for getting your feeder online without hassle.
Finally, don’t hesitate to reach out for support! Most brands have customer service that is ready to help you. Whether it’s through email, chat, or a phone call, they can guide you through any hiccups you might encounter while connecting your smart feeder to Wi-Fi. With a few simple steps, you’ll have your smart feeder buzzing and doing its job in no time!
Check Wi-Fi Compatibility
Before diving into setting up your smart feeder, the first step is to check its Wi-Fi compatibility. Not all smart feeders work with every kind of Wi-Fi network, so it’s essential to ensure yours is ready to go. Most smart feeders will mention the required frequency bands in their manual. Most commonly, you'll find that they operate on either 2.4GHz or 5GHz bands.
Here’s a quick checklist to help you figure it out:
If everything checks out, you're in a great position to connect your smart feeder! If you're unsure, a quick call to customer support can help clear things up.
Step-by-Step Connection Guide
Connecting your smart feeder to Wi-Fi is super simple! Just follow these easy steps, and you’ll be ready to go in no time.
Step 1: Download the App
First, grab your smartphone or tablet. Head over to the App Store or Google Play and search for the app that pairs with your smart feeder. Download it, and once it’s installed, open it up.
Step 2: Create an Account
Next, you’ll need to create an account or log in if you already have one. This usually involves entering your email and choosing a password. If you forget your login, don’t worry! There’s often a “Forgot Password” option.
Step 3: Power Up Your Feeder
Now it’s time to bring your smart feeder to life! Make sure it’s plugged in and turned on. Some models might require you to press a button or two to get it ready for pairing, so check the instructions that came with it.
Step 4: Connect to Wi-Fi
In the app, look for an option that says “Add Device” or something similar. Follow the prompts to connect your feeder to your Wi-Fi network. You’ll need to enter your Wi-Fi password, so have that handy. Once it’s connected, the app should confirm it, and you’re all set!
Step 5: Customize Your Settings
Finally, take a moment to set up your feeding schedule and any other preferences. The app will guide you through this process. Enjoy your new smart feeder, and watch your furry friends enjoy their meals!
Troubleshooting Common Issues
Setting up your smart feeder to connect to Wi-Fi is usually a breeze, but sometimes things don’t go as planned. Let’s troubleshoot a few common issues you might run into. Don’t worry, you’re not alone in this!
1. Can't Find the Feeder's Wi-Fi Network: If you don’t see your feeder's network in the list, try these steps:
2. Weak Wi-Fi Signal: A weak signal can make it hard for your feeder to connect. Here’s what you can do:
3. Wrong Wi-Fi Password: Double-check your password if the feeder keeps failing to connect:
With these tips, you should be able to resolve most issues and get your smart feeder connected in no time!
