Getting started with smart feeders is easier than you might think! If you've decided to level up your pet care with this tech, you're in for a treat. These feeders can help you manage feeding schedules, portion control, and even monitor your pet’s eating habits from anywhere. Let’s break down how to set everything up seamlessly with your home assistant.
First things first, unbox your smart feeder and ensure you have all the components: the feeder itself, power adapter, and any included accessories. Most smart feeders connect to your Wi-Fi, so make sure you have your Wi-Fi credentials handy. You’ll typically need to download the manufacturer’s app on your smartphone. These apps are user-friendly and guide you through the setup process step by step, so don’t sweat it!
Once you have the app, plug in your smart feeder and turn it on. Follow the prompts to connect it to your Wi-Fi network. Depending on the model, you might have to press a button or scan a QR code. After it’s connected, you’ll want to set your pet’s feeding schedule. You can usually adjust the amount of food dispensed and how often it dispenses—perfect for keeping your furry friend on a healthy routine!
Now comes the fun part: connecting the smart feeder to your home assistant. Whether you use Google Assistant, Alexa, or another system, check the app for the "Smart Home" section. Link your feeder by following the instructions specific to your home assistant. Once they’re synced up, you can ask your assistant to feed your pet at specific times or even check if the feeder is running low on food.
Don’t forget to give it a test run! Watch how it works during a feeding time to ensure that everything is running smoothly. This is a great time to adjust settings as needed or troubleshoot any issues. Once you’ve got it all figured out, you can sit back, relax, and enjoy knowing that your pet's feeding is all taken care of—until it's time for snack!
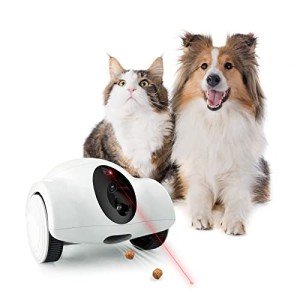
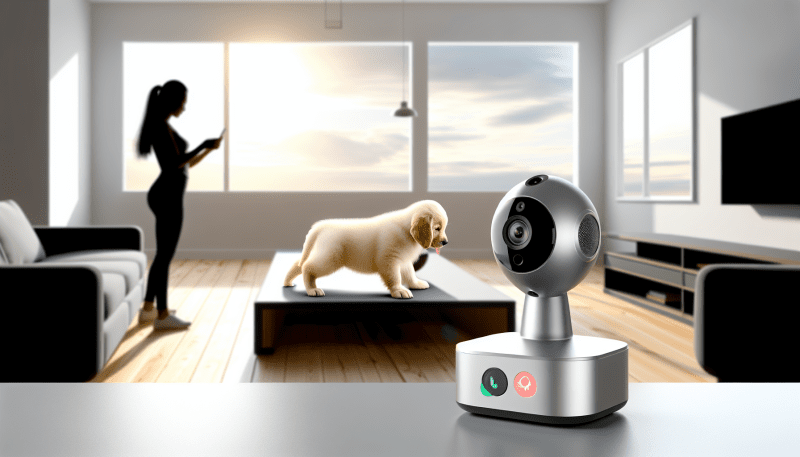
Smart Pet Camera with Treat Dispenser and 2-Way Audio
Keep an eye on your furry friend and reward them with treats while chatting from anywhere
Product information
€121.52
Product Review Score
4.82 out of 5 stars
159 reviewsProduct links
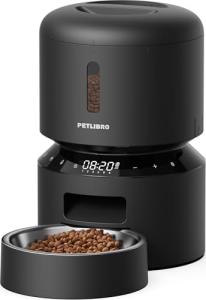
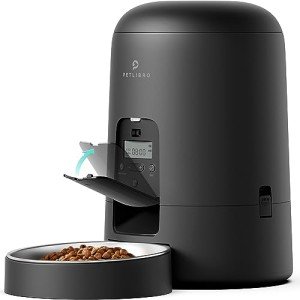
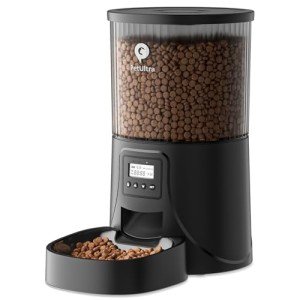
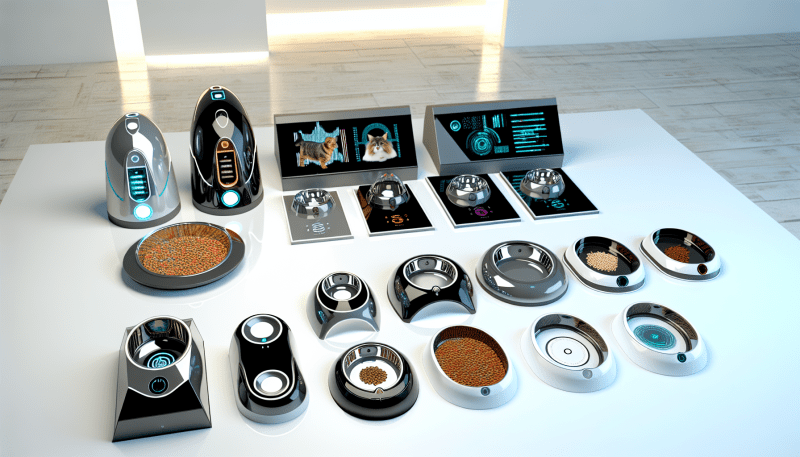
Choosing the Right Smart Feeder
When it comes to smart feeders, not all are created equal. Choosing the right one for your furry friend can make a big difference in their feeding routine and your day-to-day life. Here are a few things to consider that will help you pick the best option.
1. Size and Capacity: Think about how much your pet eats. If you have a small dog or cat, a smaller feeder might do just fine. But for larger breeds, you’ll want one that can hold more food to reduce the frequency of refills. Check the specifications to ensure it fits your pet's needs.
2. Connectivity: Most smart feeders connect to Wi-Fi, allowing you to control feeding times and portions from your smartphone. Make sure it's compatible with your home assistant system. Some feeders even offer voice commands, making it super easy to feed your pet without lifting a finger!
3. Features: Look for features that suit your lifestyle. For example, some feeders have built-in cameras, letting you check in on your pet while you’re out. Others may play sounds or dispense treats, which can keep your pet entertained. Think about what could add convenience or fun for both you and your pet.
4. Easy to Clean: Pet food can be messy, so a feeder that’s simple to clean is a must. Look for removable parts or smooth surfaces that won’t trap food residue. This can save you a lot of hassle in the long run.
Connecting Your Feeder to Home Assistant
Getting your smart feeder connected to Home Assistant is super straightforward! First, you’ll need to make sure both your feeder and your Home Assistant setup are ready to communicate. Most smart feeders use Wi-Fi, but check the user manual just to be sure. Having everything on the same home network makes this process smooth sailing.
Start by going into your Home Assistant dashboard. Look for the Integrations section to see if your feeder is listed. Many popular brands have built-in support, making it a breeze to link them up. If you see your feeder there, just click on it, follow the prompts, and you’ll be connected in no time!
If your feeder isn't listed under Integrations, don't worry! Many feeders support generic connection methods like MQTT or REST API. You can create a custom integration by using the Configuration.yaml file in Home Assistant. Just pop in the feed control commands there, and you’re good to go. Plus, there are tons of online tutorials that can guide you step-by-step.
Once everything is connected, take a moment to set up notifications. It’s handy to get alerts on your phone if the feeder needs a refill or if it’s running low on food. This feature will help you keep tabs on your pet’s feeding schedule without a hassle. Now sit back, relax, and enjoy the convenience of smart feeding!
Tips for a Smooth Setup
Getting your smart feeder up and running with your home assistant can feel a bit overwhelming, but it doesn’t have to be! Here are some simple tips to make the setup as smooth as possible.
1. Check Compatibility
Before diving in, make sure your smart feeder is compatible with your home assistant. Most brands have a list of supported devices, so a quick check can save you some time and frustration later.
2. Location, Location, Location
Place your smart feeder in a spot that’s convenient for both you and your furry friend. Avoid high-traffic areas where it could get bumped and make sure it’s near a power outlet if it needs one. This helps ensure your pet can easily access their food!
3. Follow the Instructions
Don’t skip the manual! Each smart feeder will have its own unique setup steps. Following the manufacturer’s instructions carefully can help prevent any hiccups during the process.
4. Test the Connection
Once everything’s hooked up, check the connection with your home assistant. Run a quick test to see if your feeder accepts commands. This way, you can work out any issues right away and enjoy a seamless feeding experience.